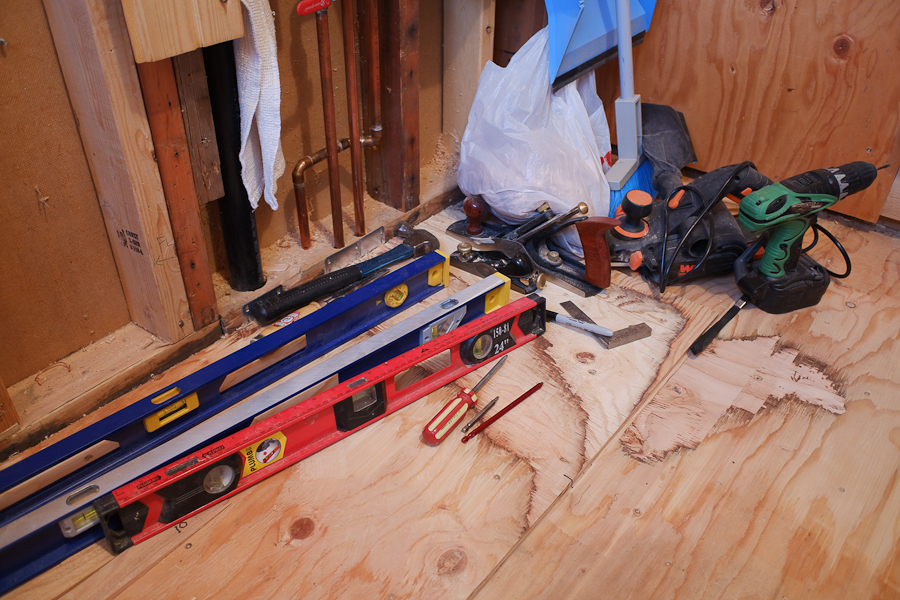
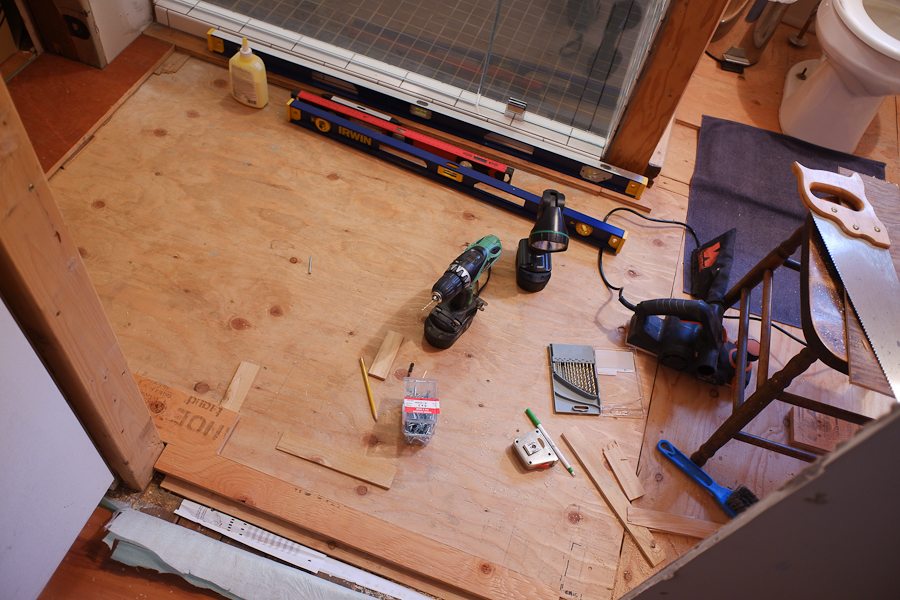
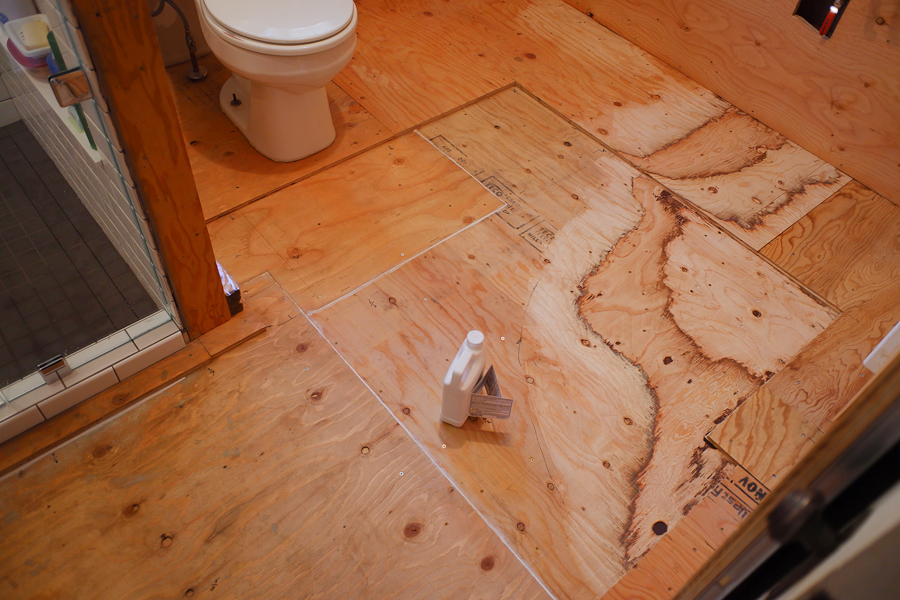
| Some of the tools used to level the new bathroom sub-floor. The original sub-floor of 1 inch thick, rough-sawn planks sloped to the north-east. I re-inforced it with a layer of 3/4 inch plywood, then added a second layer of ply around the edges of the room to create a recess to accept in-floor heating. |
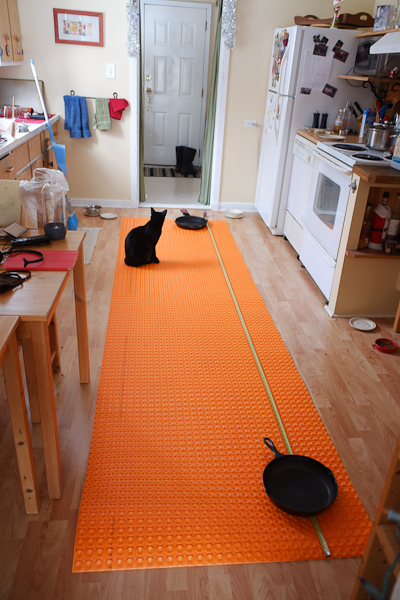
The bathroom will have a heated floor. Beans inspects the Schluter Ditra-Heat mat that we'll install in the middle of the room. |
Despite my best calculations, the south-west corner of the new sub-floor is too high. I have to lower it slightly. This requires planing both layers of plywood. Here you can see me removing about 3/16 inch of wood in the corner of the recess for the heating mat. |
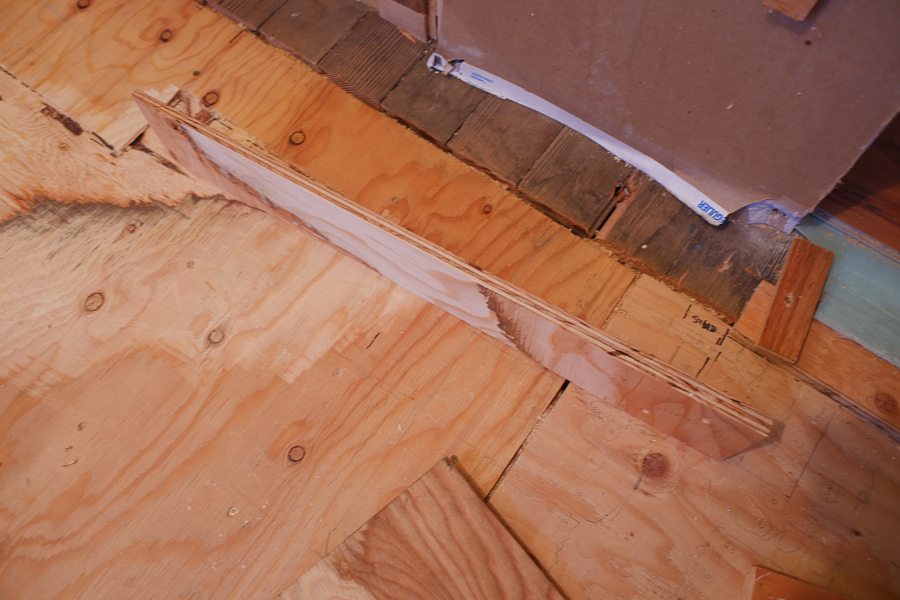
At the other end of the room, I have to build up the edge of the sub-floor. Shims of different thicknesses support the second layer of plywood at the proper height. I glue and screw everything into place. |
Likewise, this odd shaped piece at the main door to the room. |
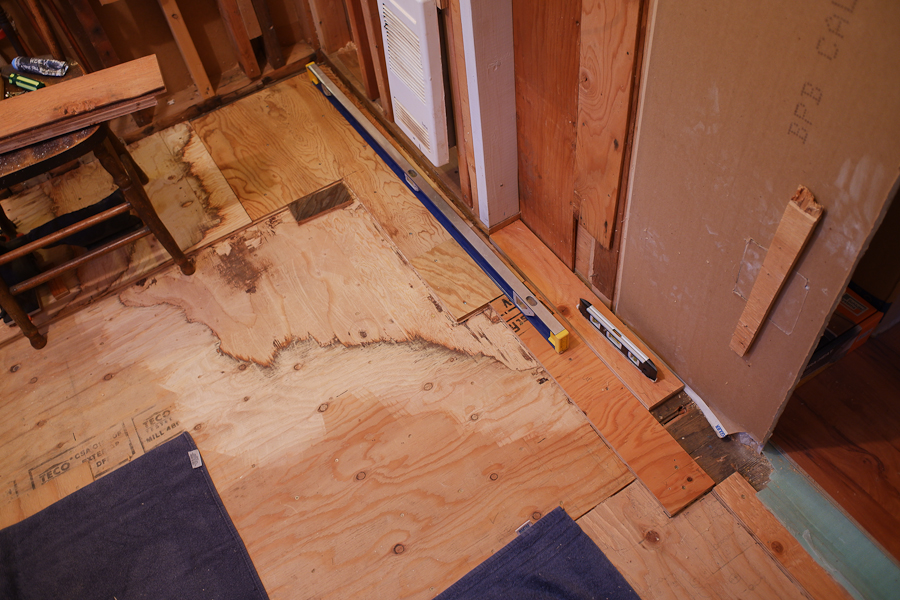
Here (from the opposite point of view), you can see the pieces from the two previous photos in their final positions (top-left & centre-bottom). |
It's a bit hard to make out, but here you can see the next piece of edging standing on edge to reveal the taper I had to plane on its underside. |
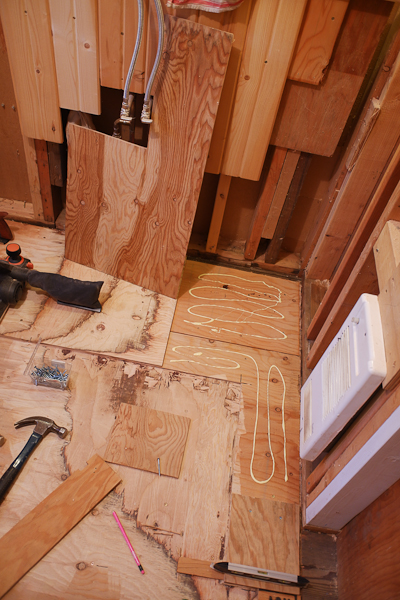
In the high corner of the room, a thin piece of plywood completes the edges of the 'well' for the heating mat. |
Level. |
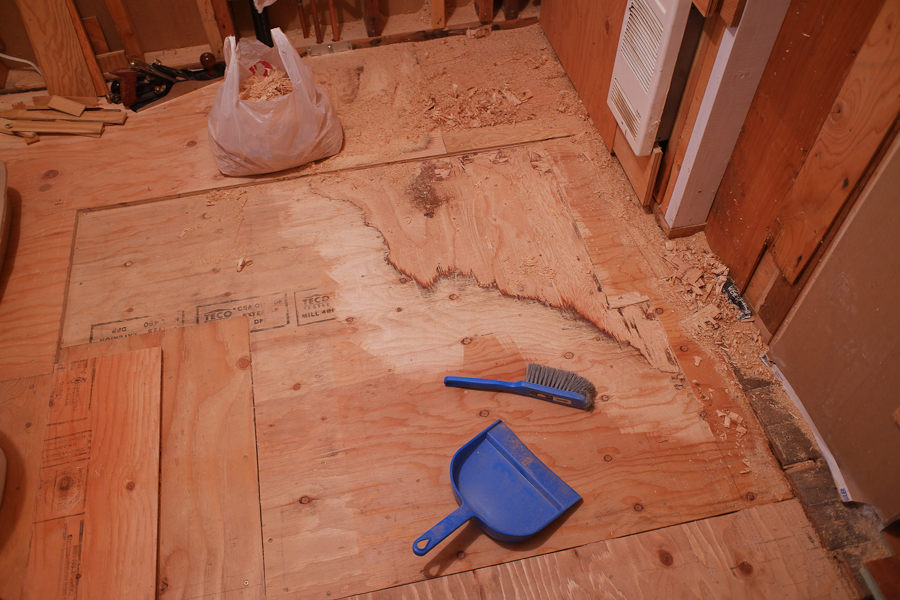
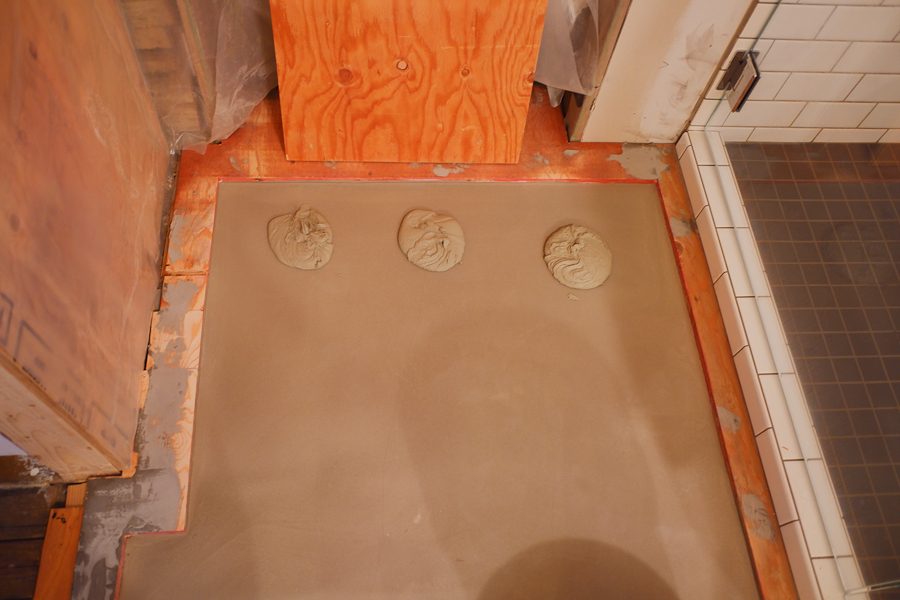
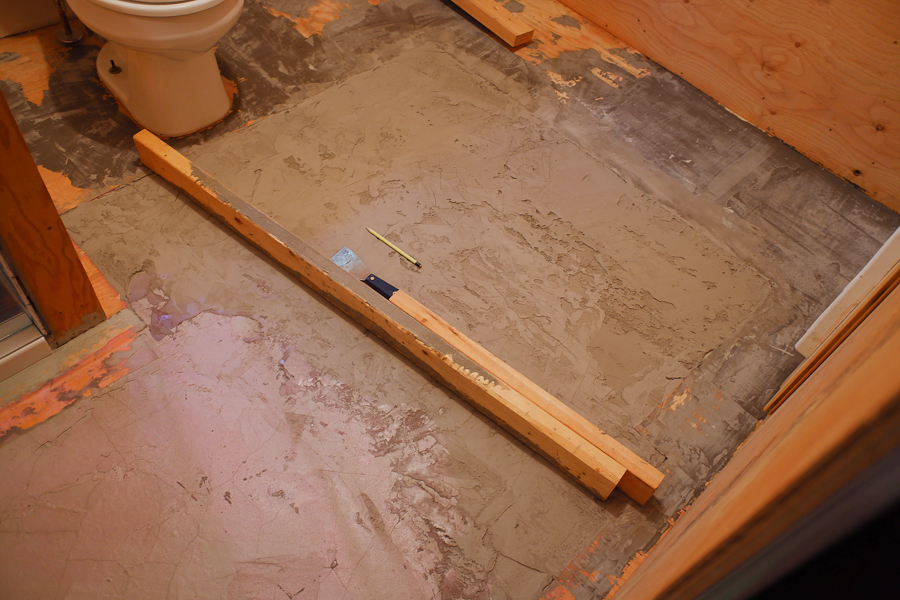
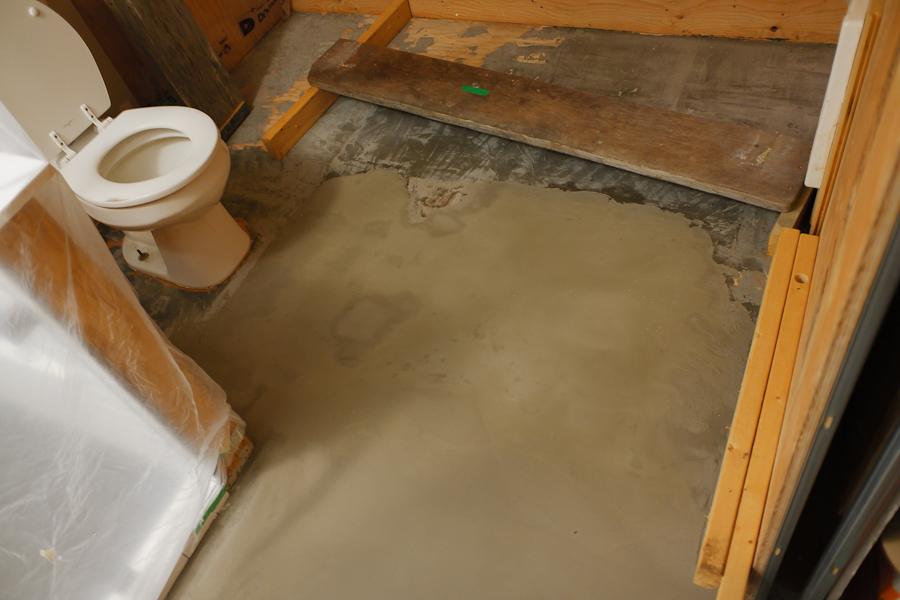
The shallowest part of the well is in its SW corner, centre-right. The bottom of the well slopes away from this point gently. The opposite corner of the well is 5/16 inch deeper. I will level the bottom of the well before installing the heating mat, using a self-levelling concrete. Before I pour that into the well, I seal the gaps in the sub-floor, and paint the wood with a special primer to help the leveller bond to the wood. |
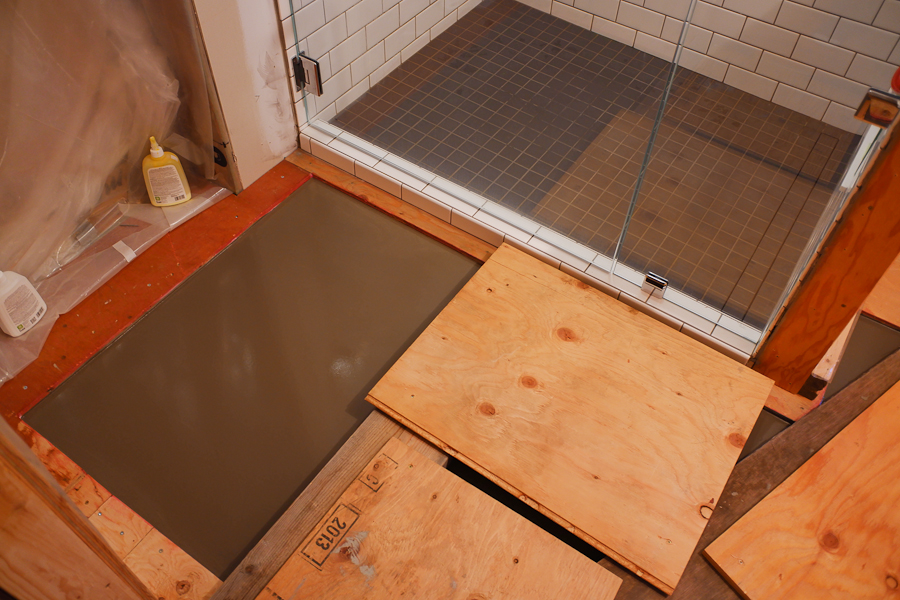
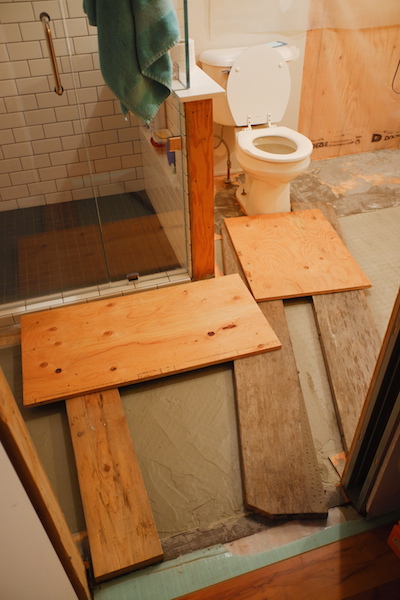
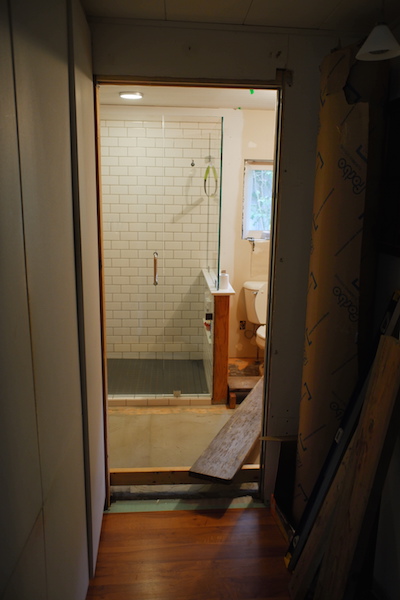
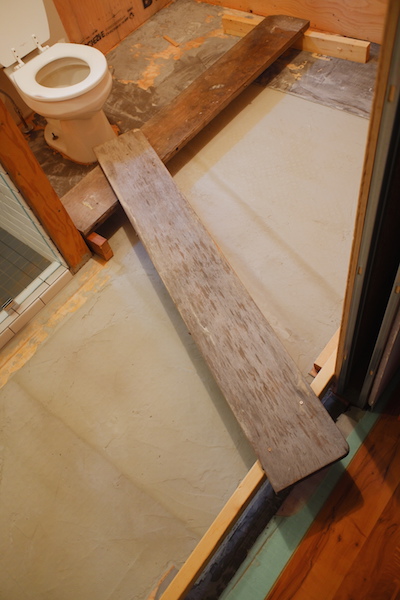
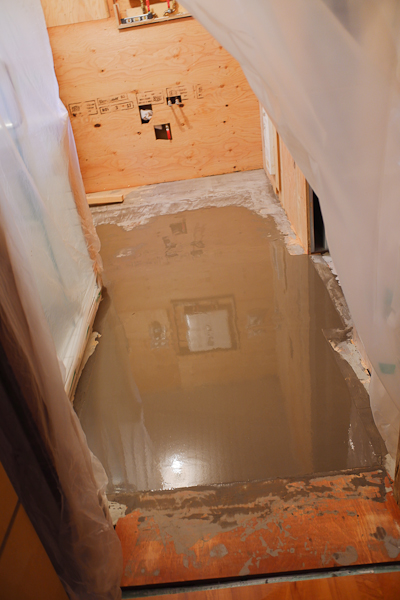
I create a system of planks to allow us to use the toilet and shower while the concrete dries. Oh, the joys of renovating the only bathroom in the house! The contraption furthest right is a screed to measure the depth of the pour. The concrete primer is pink. |
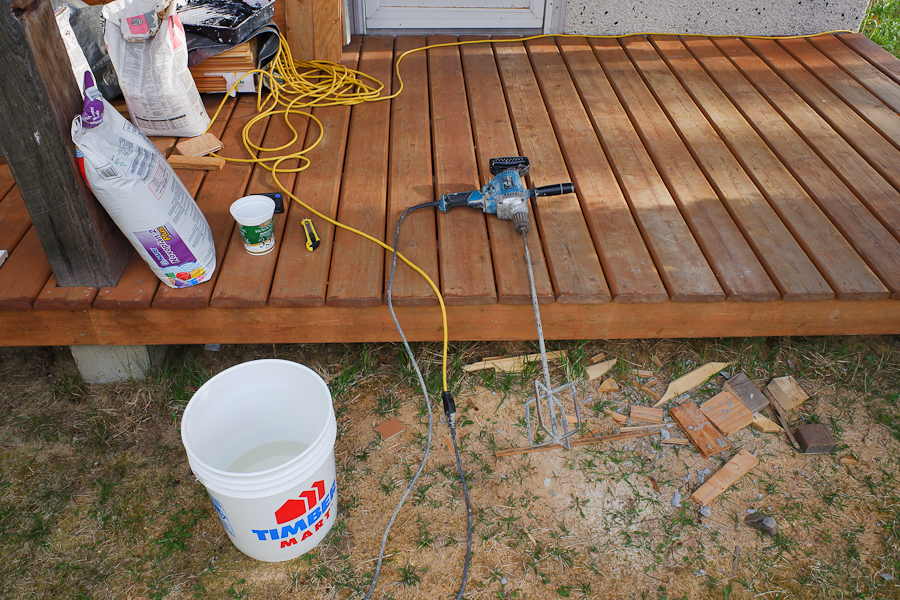
Getting ready to mix. |
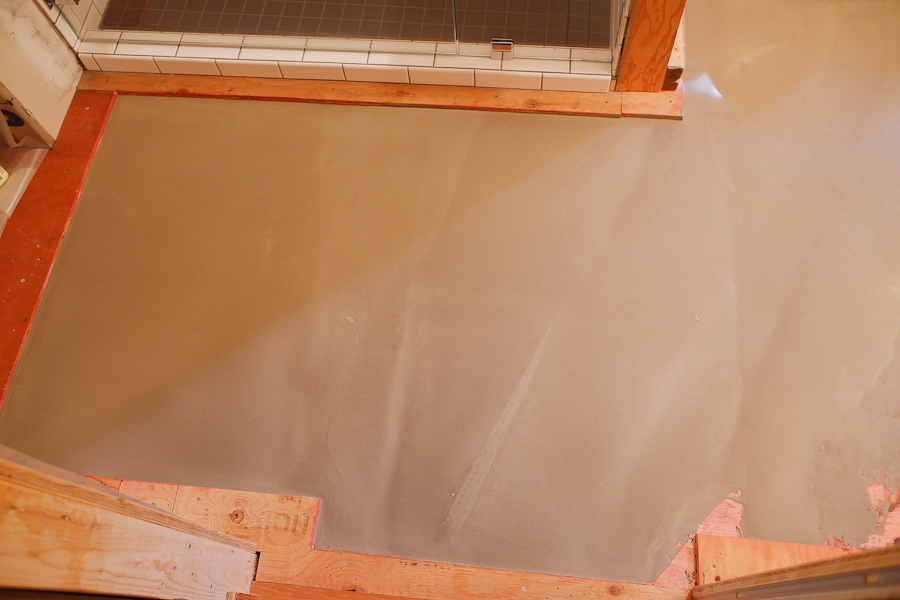
Shortly after the pour. You can more clearly see the dimensions of well for the heating mat now. |
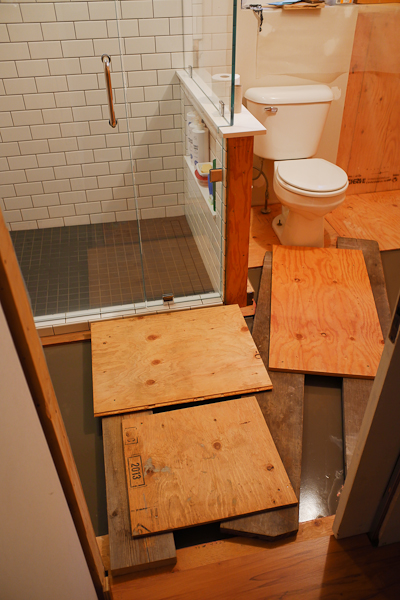
We have to walk the plank to use the loo. |
The planks slowed the curing of the concrete in places as you can see by colour differences in the concrete. |
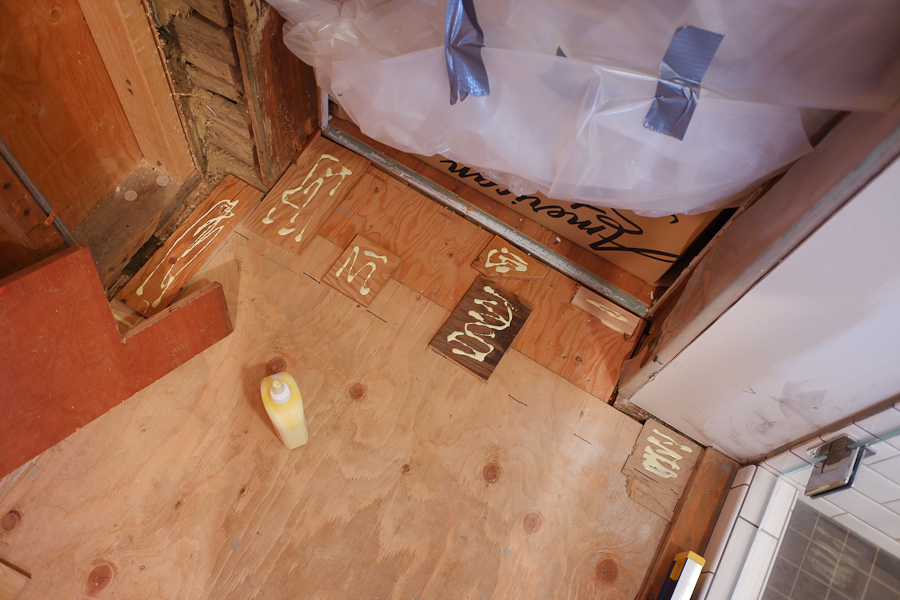
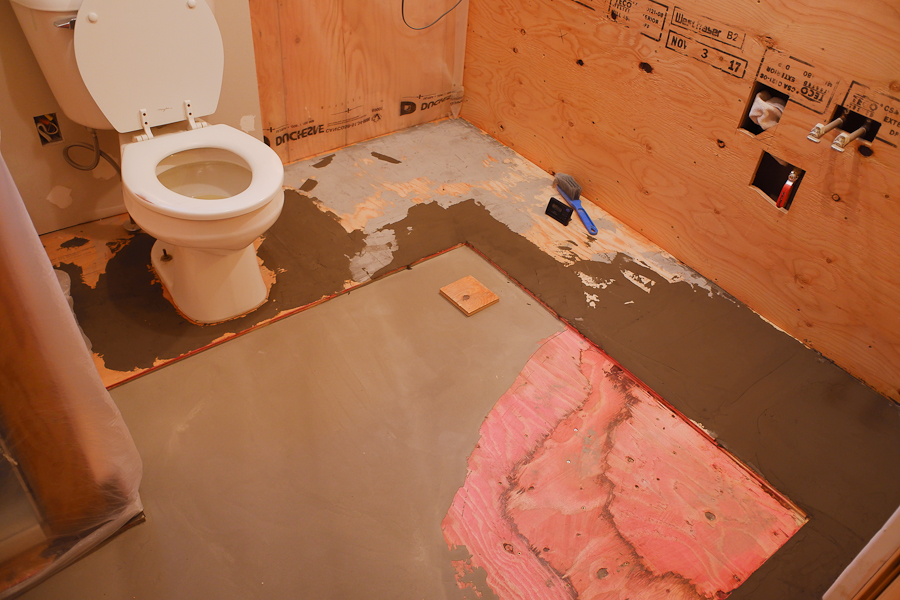
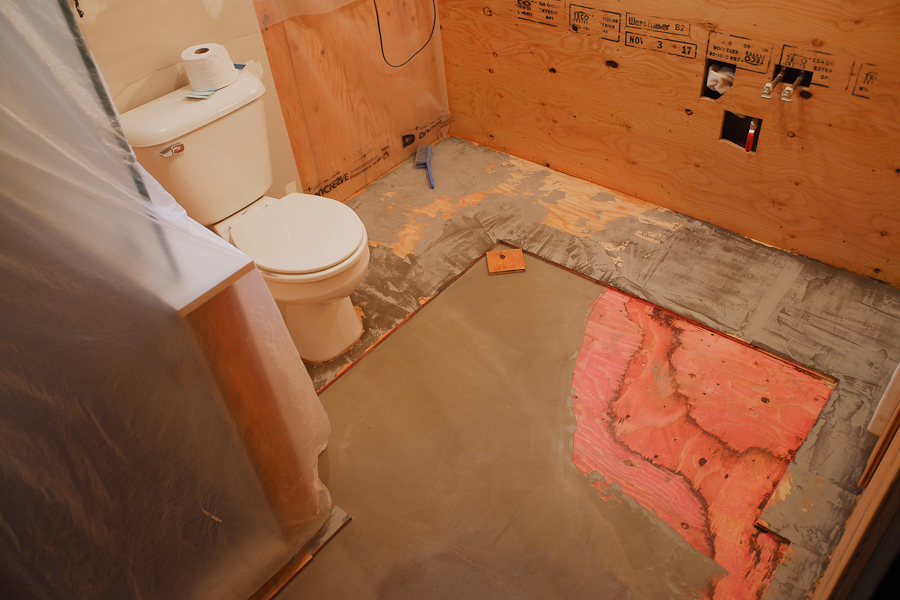
I use a patching compound mixed with hardener to more precisely level the edges of the well, and to fill screw holes and rough spots in the plywood. The final floor covering for the room will be marmoleum which requires a smooth surface for installation. Imperfections in the sub-floor will show through the marmoleum over time. |
After sanding, I test the depth of the well with a thickness of wood. |
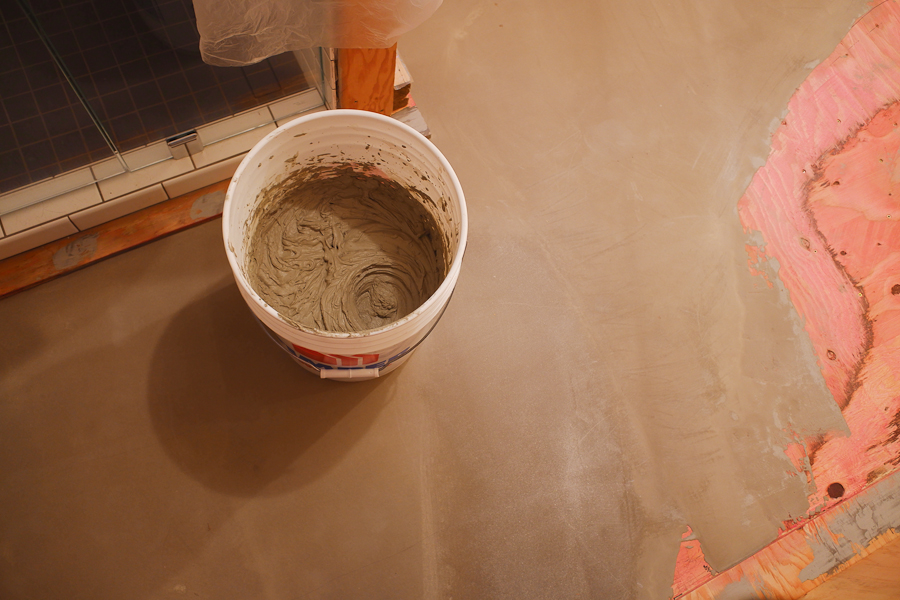
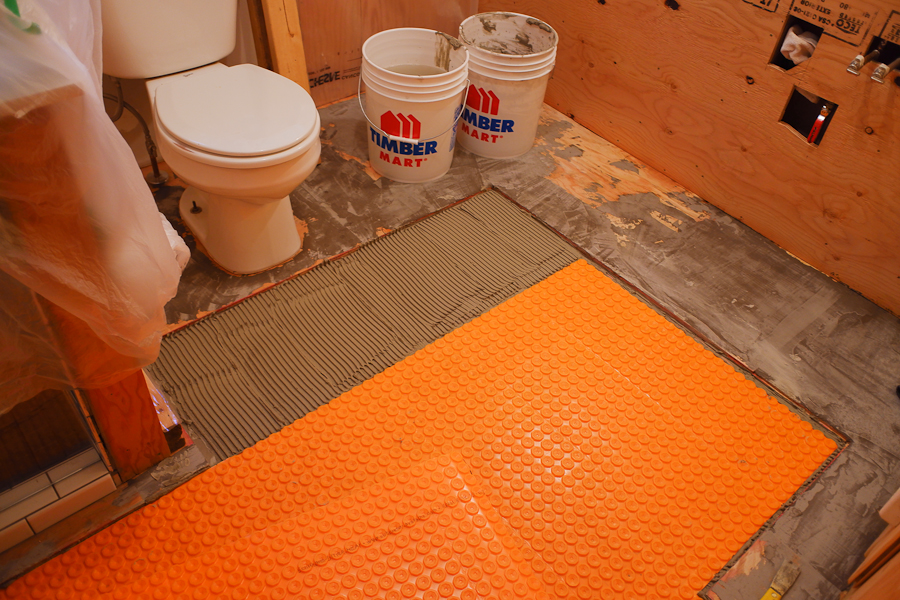
I'm finally ready to install the heating mat. I mix a buttery bucket of thinset mortar. Yum. |
Time to start trowelling. |
The heating mat has a fuzzy backing that grabs the mortar. |
|
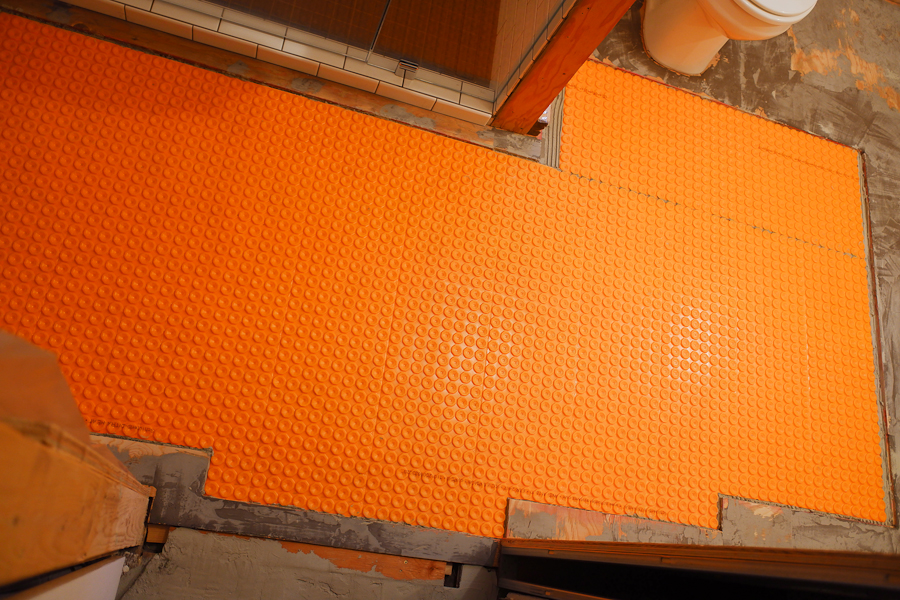
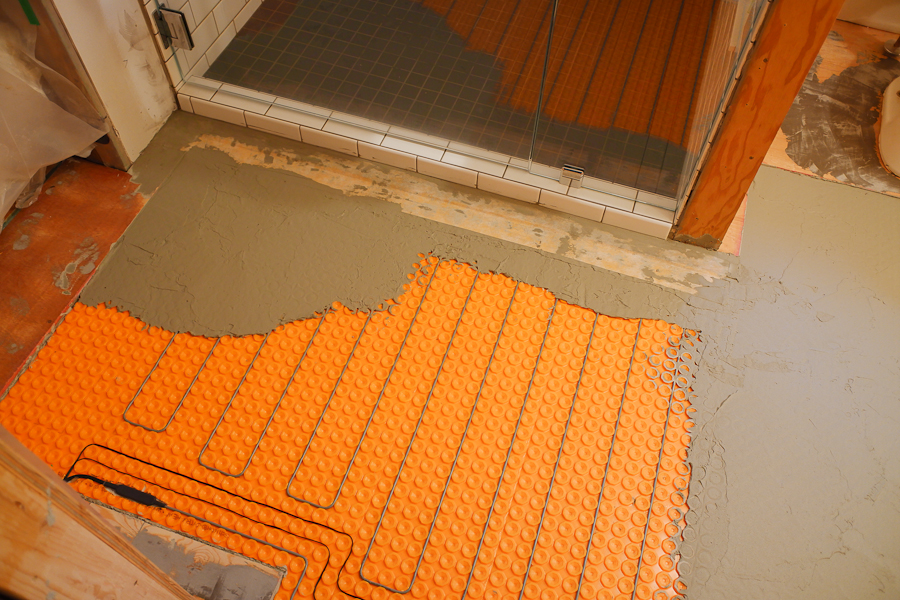
I also level the hallway sub-floor just outside the bathroom, to align the laminate flooring there with the new bathroom floor. Beans leaves his mark in the mortar while I'm not paying attention. |
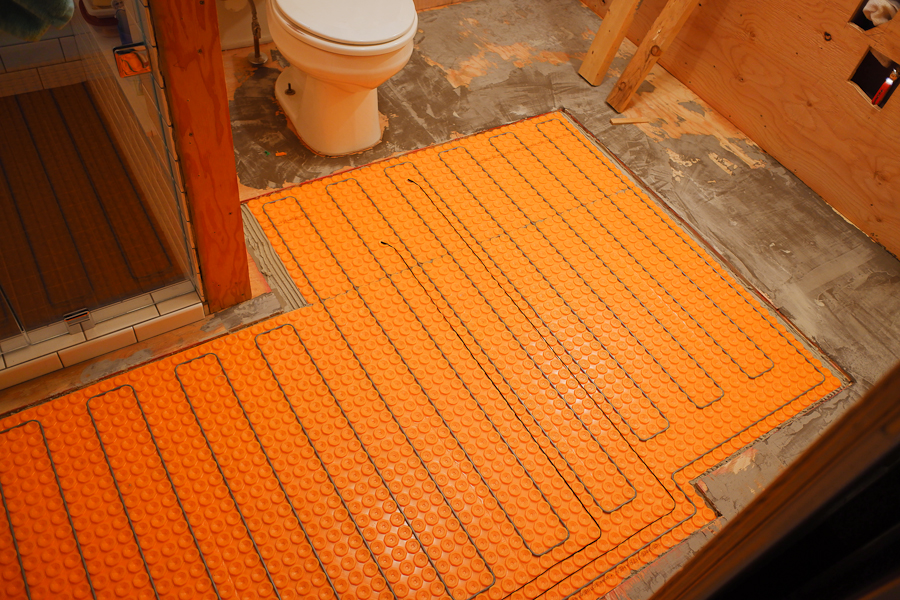
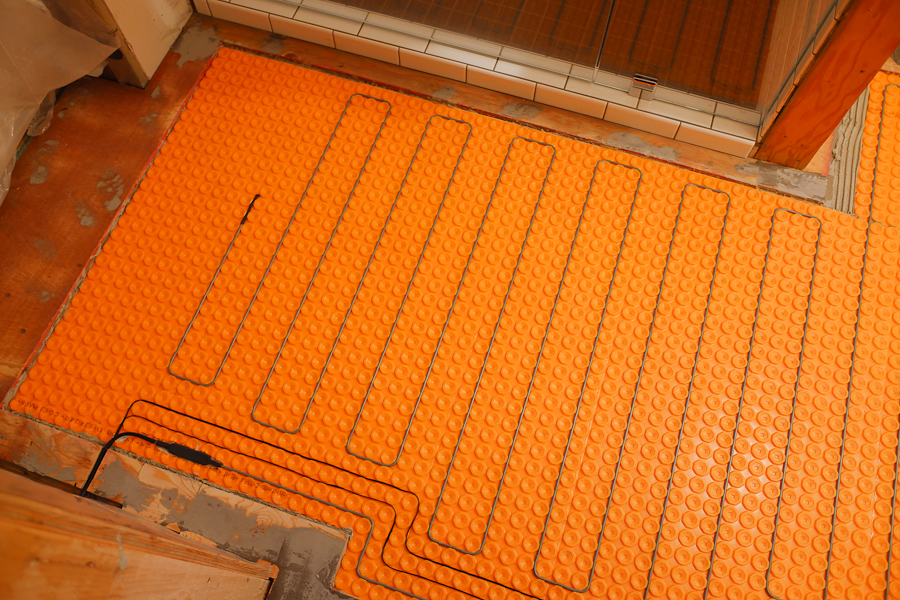
I install the heating cable in the floor mat. This system allows you to put heat just where you need it. The area at right beyond the mat will be under the vanity. The thin black wires lead to two temperature sensors for the system's thermostat. An extra sensor is installed now in case the first one fails later. |
The heating cable comes in fixed lengths and cannot be shortened. |
More thinset covers the wiring. I also waterproof the edge of the mat beside the shower door with a strip of Schluter Kerdi-Band. |
The planks go back down. |
|
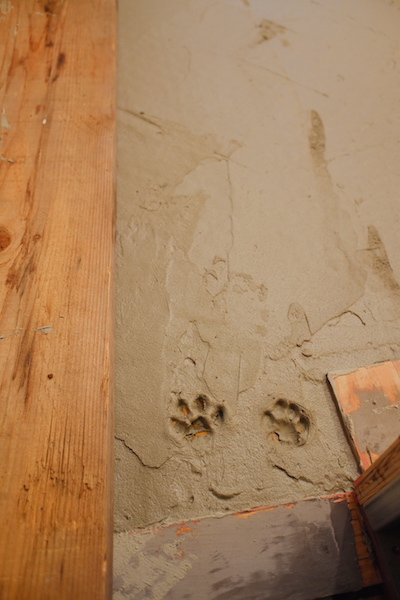
This time, Buttons tries to enter the room and autographs the concrete. |
For the next (and final) phase of layering concrete, I create an elevated plank system to allow for more even curing. |
|
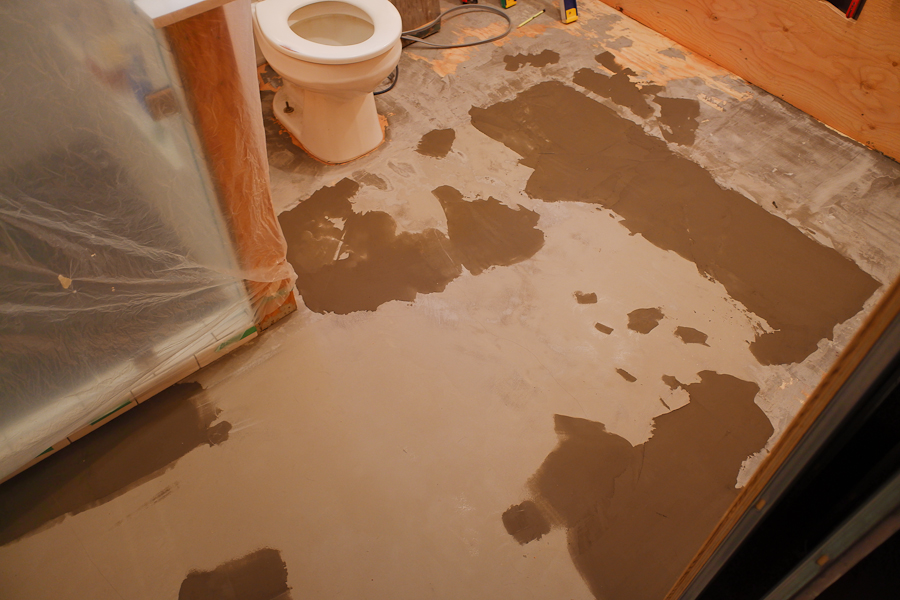
To fill the well with a final layer of concrete, I chose an easy smoothing but quick curing mortar. This was the wrong product to use. I had planned to screed it level with the edges of the well. Didn't work. |
So I return to using self-leveller. |
This works like a charm. |
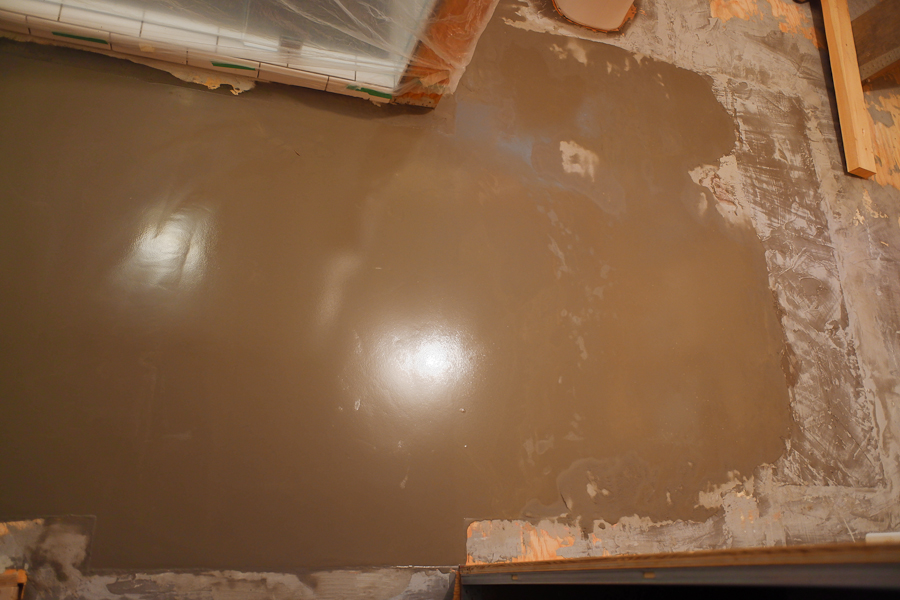
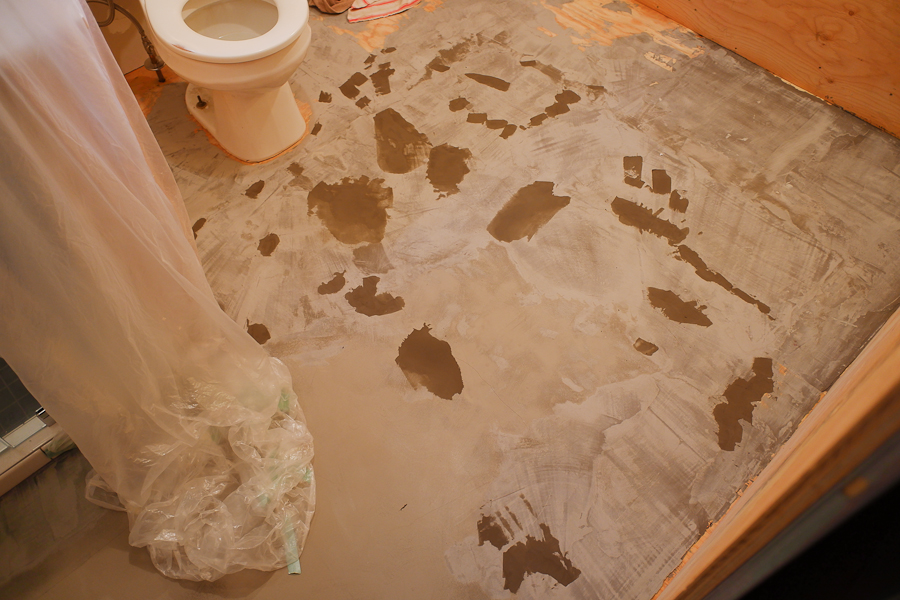
But this layer couldn't fill the entire well because of the mess I'd made with the previous layer of mortar. |
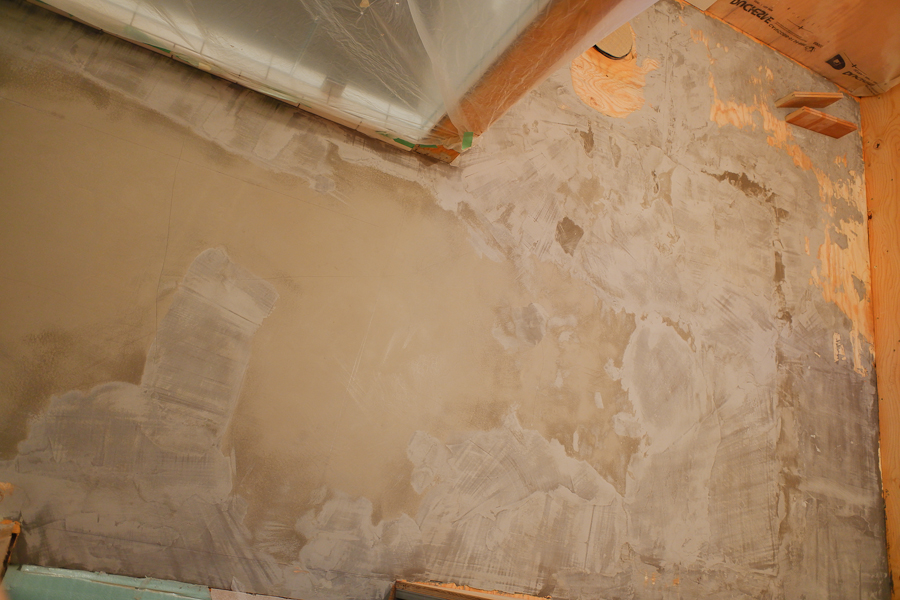
The deep end of the well is easy to patch. A few thin patches feather those edges. |
But the shallow end needs many patches in several layers with lots of sanding. |
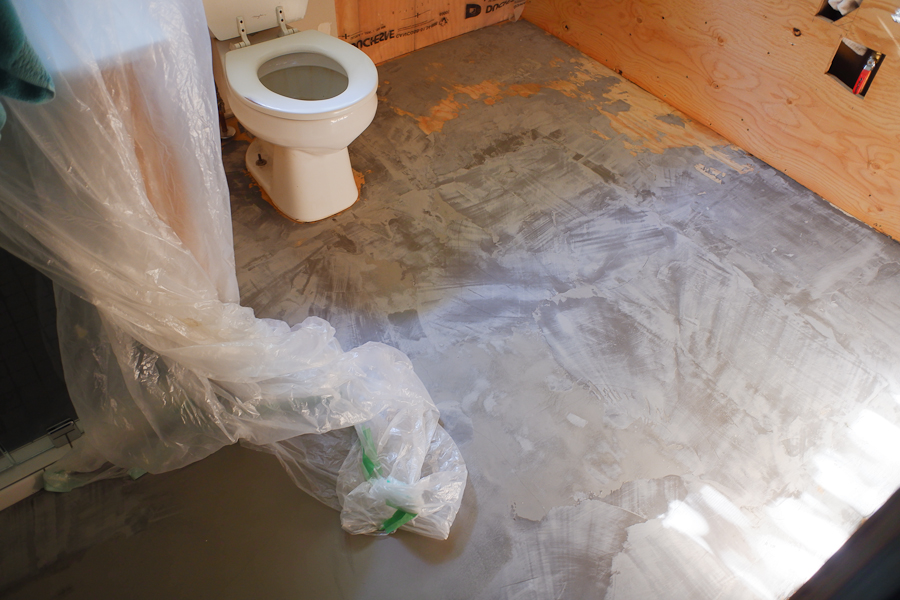
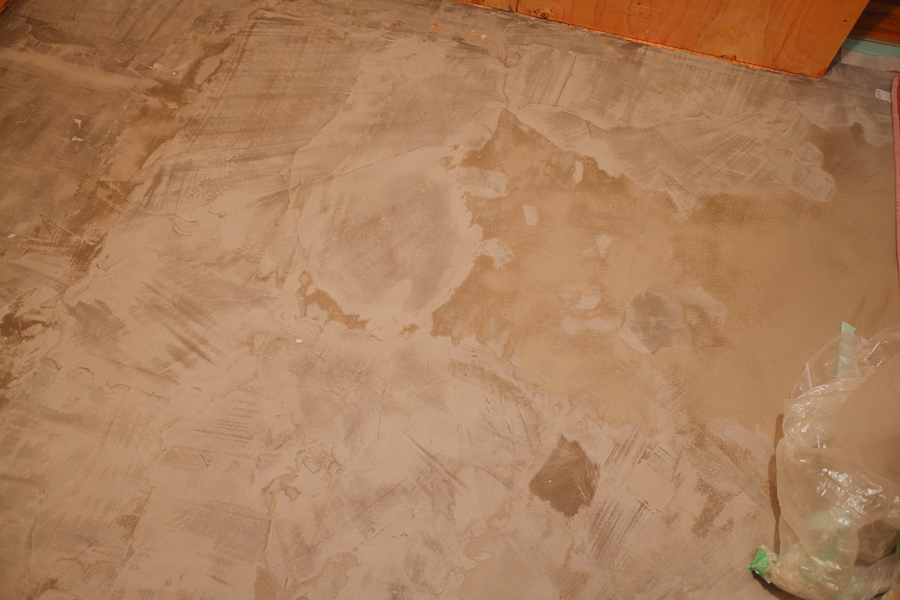
Finally flat. |
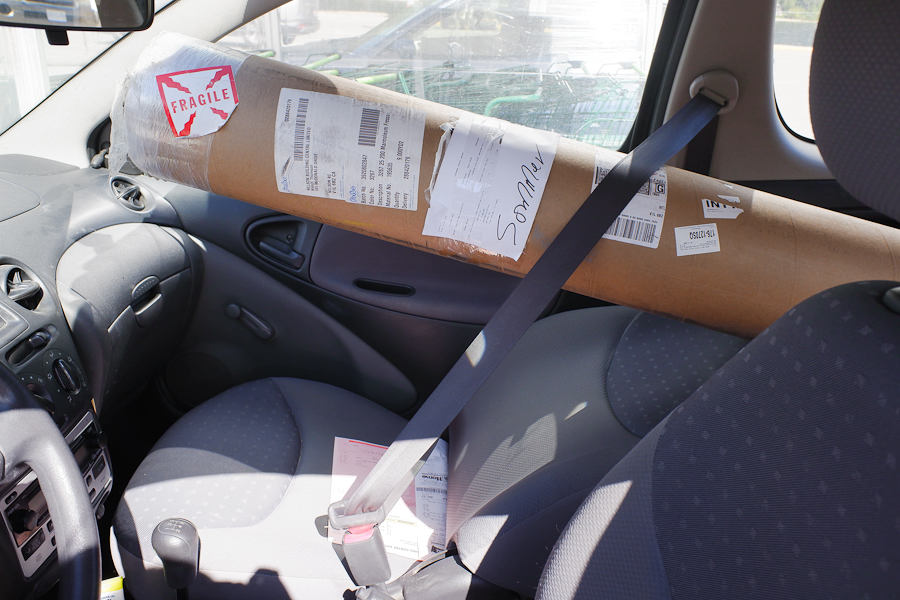
Bringing home the marm. |
Marmoleum is a wonderful natural material made of clay and linseed oil. It's warm underfoot even without in-floor heating. And it comes in many colours. |
Buttons approves. |
Beans too. |
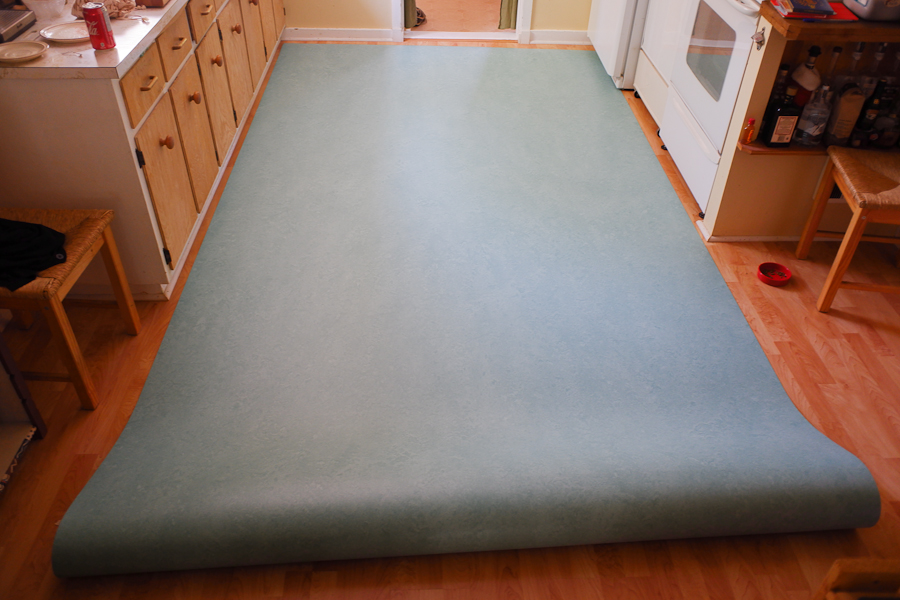
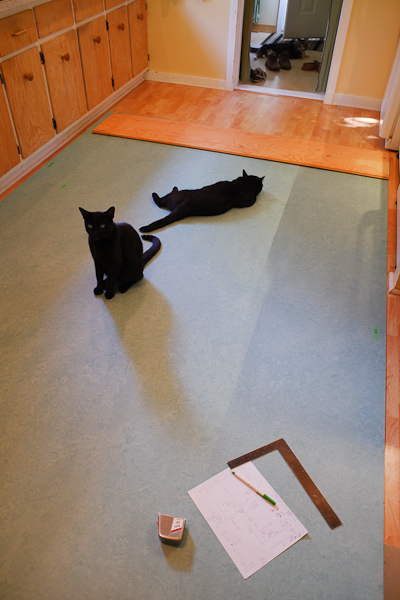
Cut to fit. Getting this odd shape into place in the bathroom will be tricky. |
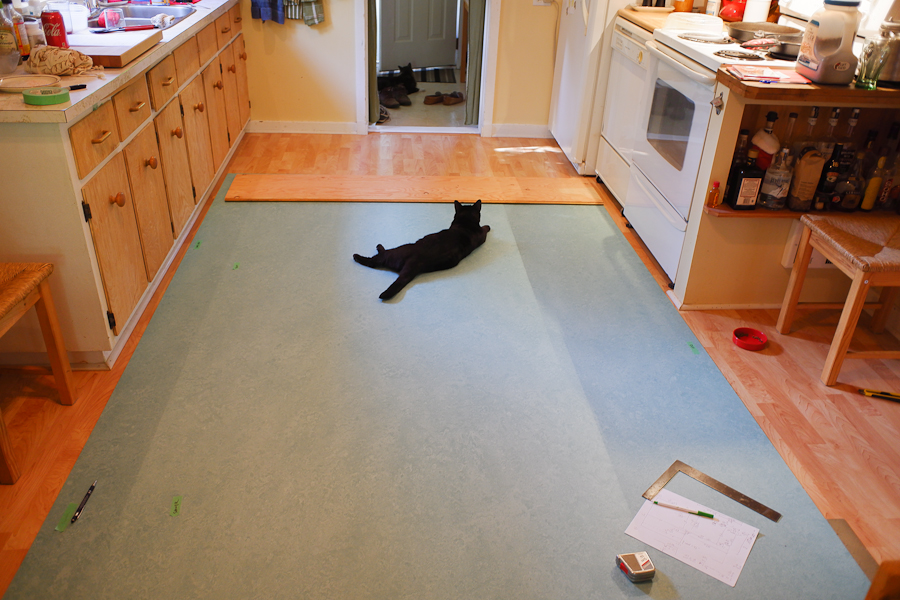
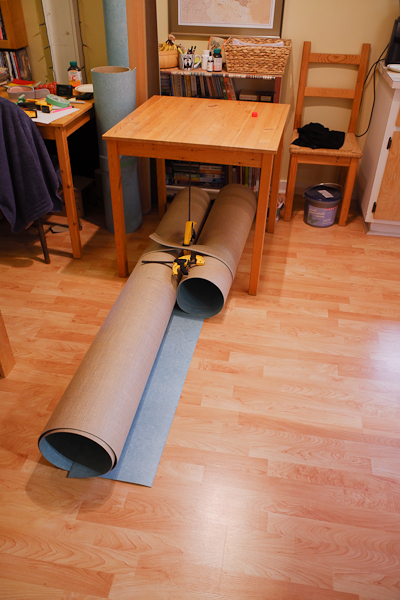
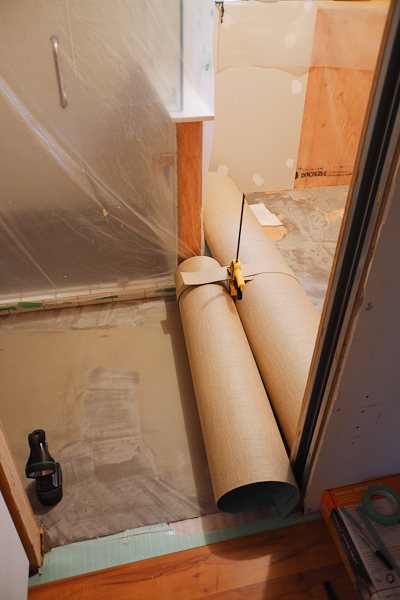
I roll each side of the sheet towards the middle of the sheet. |
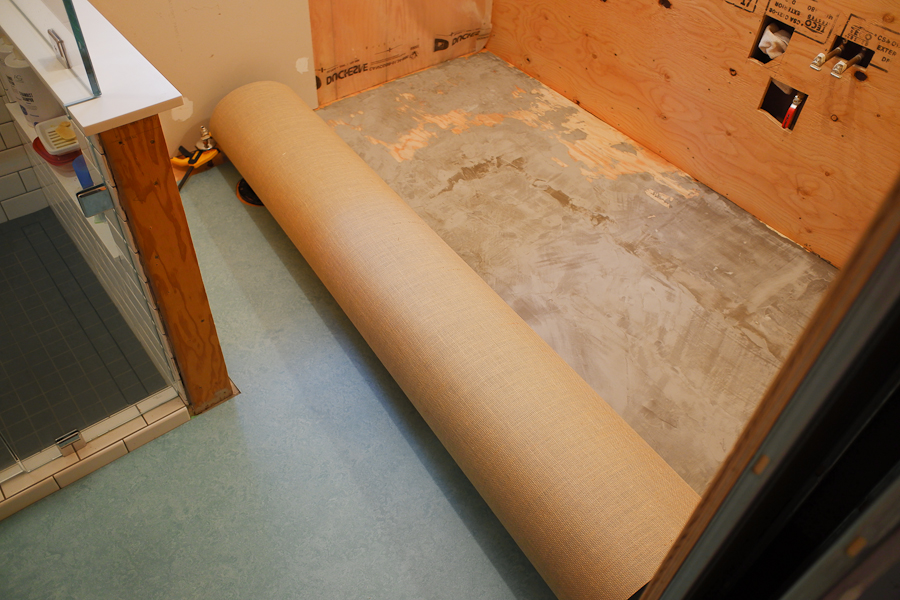
This allows me to slide this bundle into the bathroom around the shower and the door jamb. |
Then I can unroll each half of the sheet into place. |
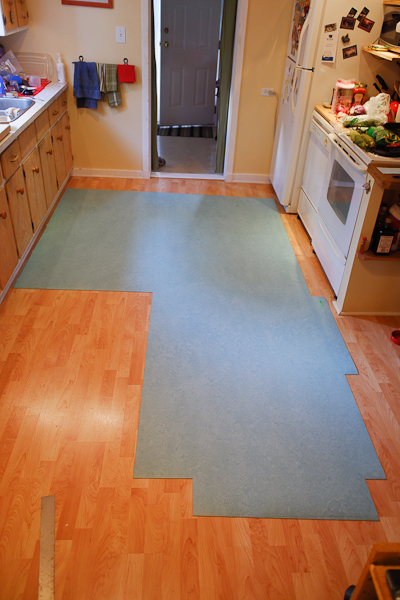
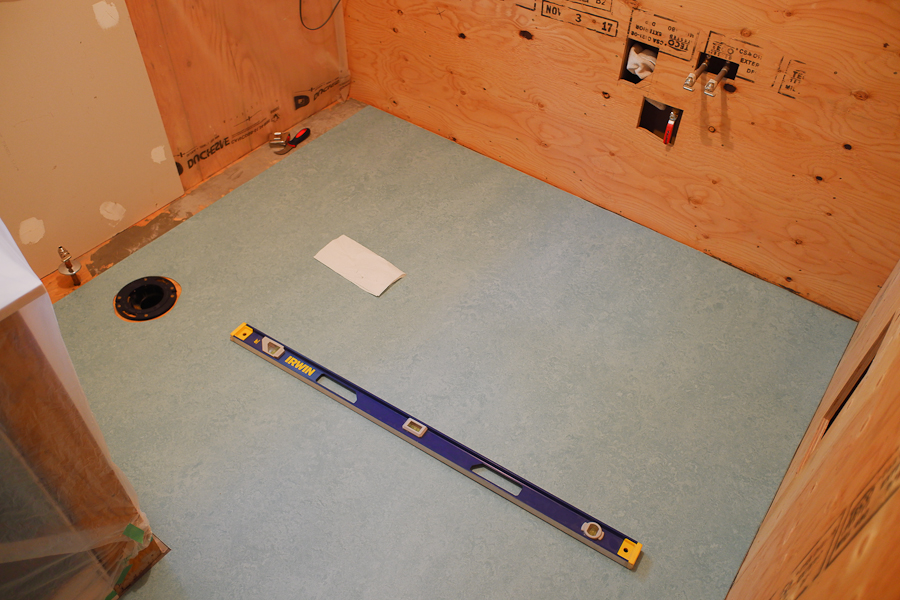
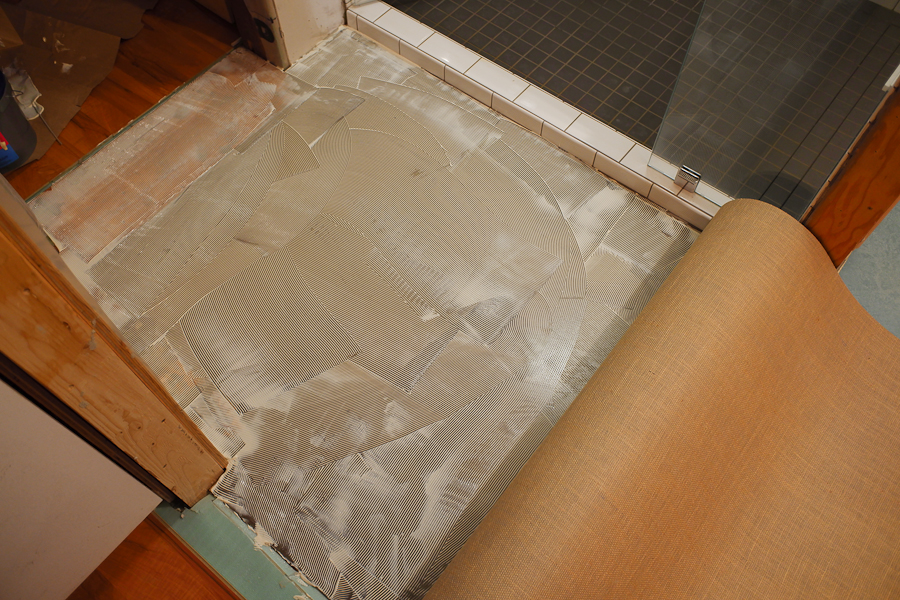
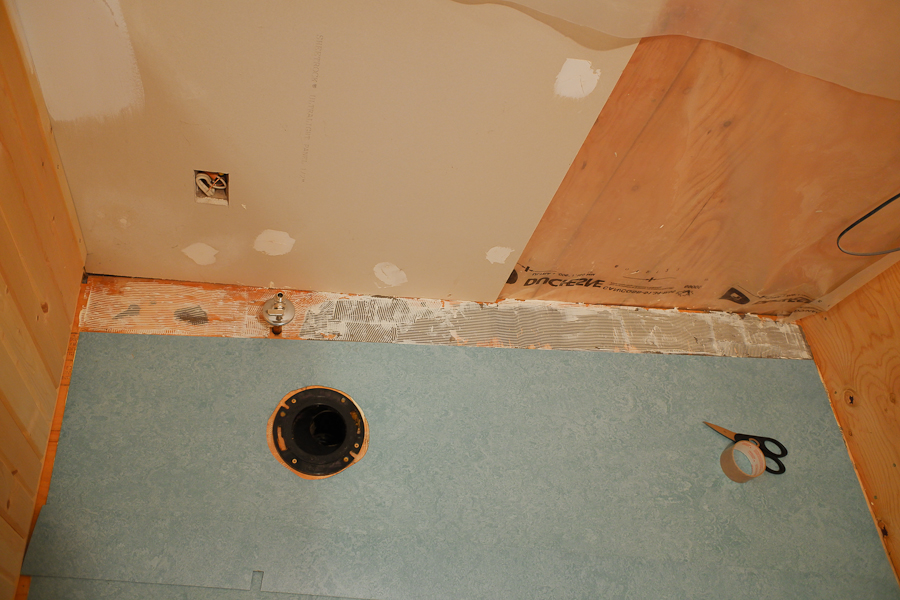
I test fit the sheet and cut a hole for the toilet flange. The sheet isn't quite wide enough for the room. |
So I cut another strip to finish covering the sub-floor. |
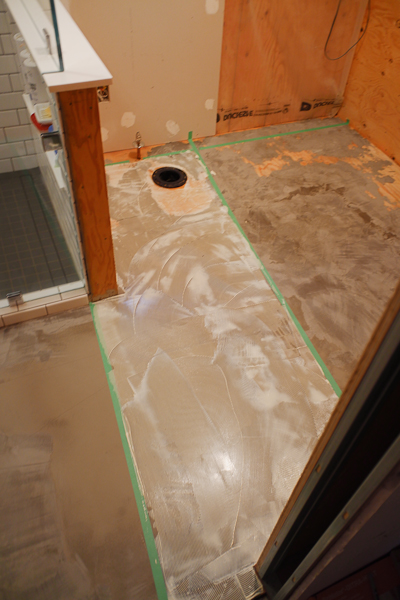
I inspect the sub-floor one last time and sand a last few problem areas. |
I can't resist one last round of patching. |
After the last sanding, I vacuum one last time and wipe down the floor with a damp cloth. |
I will glue the marmoleum down in three stages, the center of the roll first. To keep the roll out of the adhesive while I wiggle it into place, I create a support that I will tip up and pull out from beneath the roll after it's properly aligned. |
The marmoleum must be placed into the wet adhesive promptly, and immediately rolled with a heavy steel roller. |
Next, I glue and roll the shower-side of the sheet. |
|
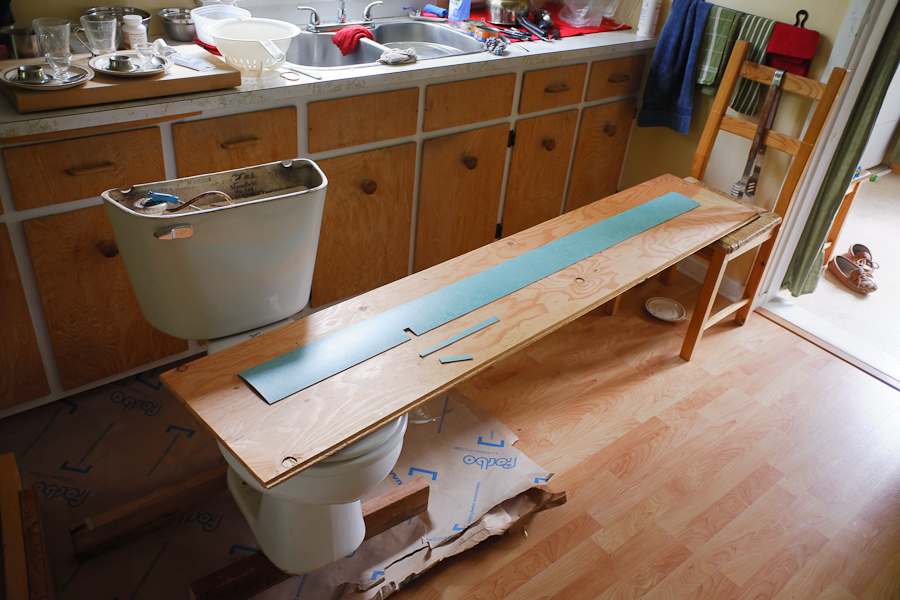
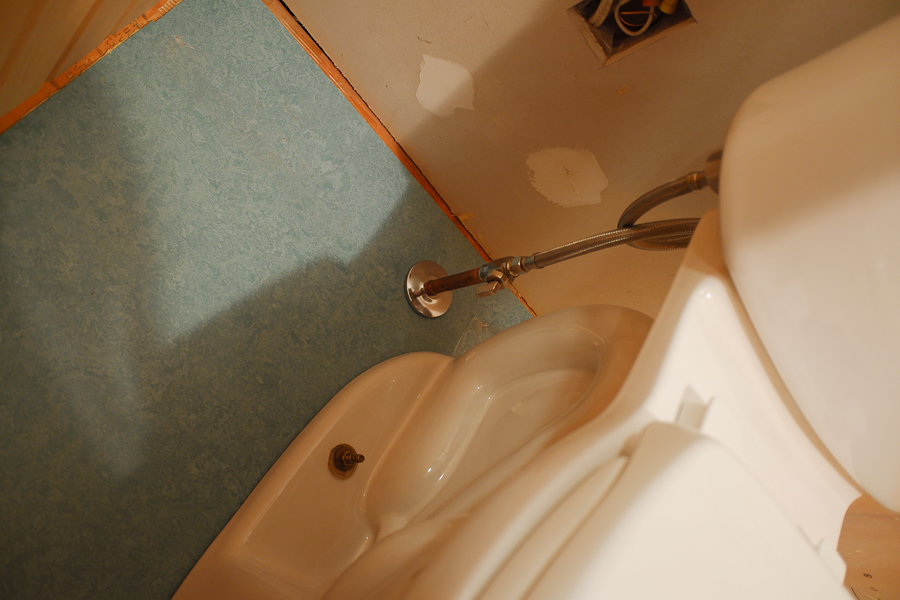
Then I glue the toilet-side. Last of all, I glue down the final strip of marmoleum behind the toilet. I use packing tape to tension the seam between the two pieces of marmoleum tightly closed. |
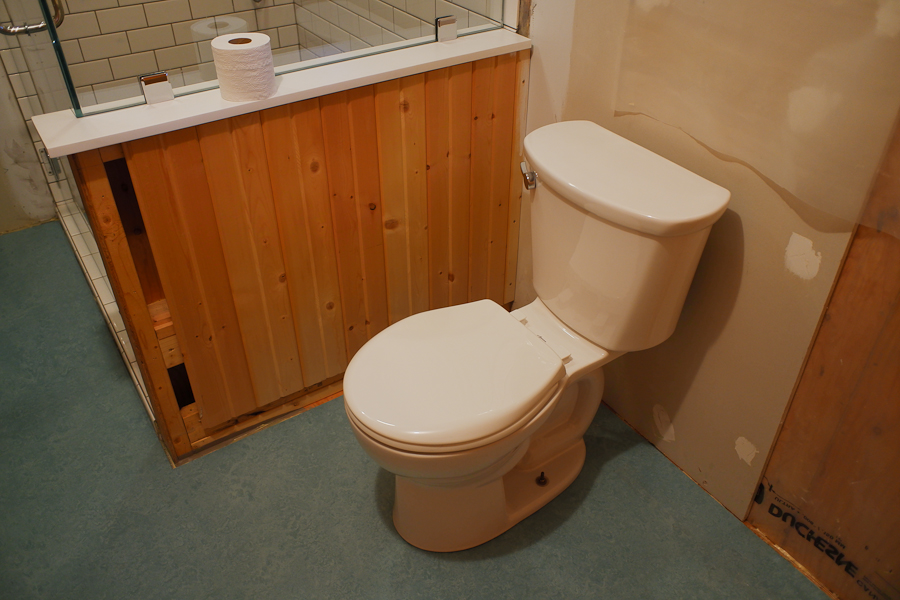
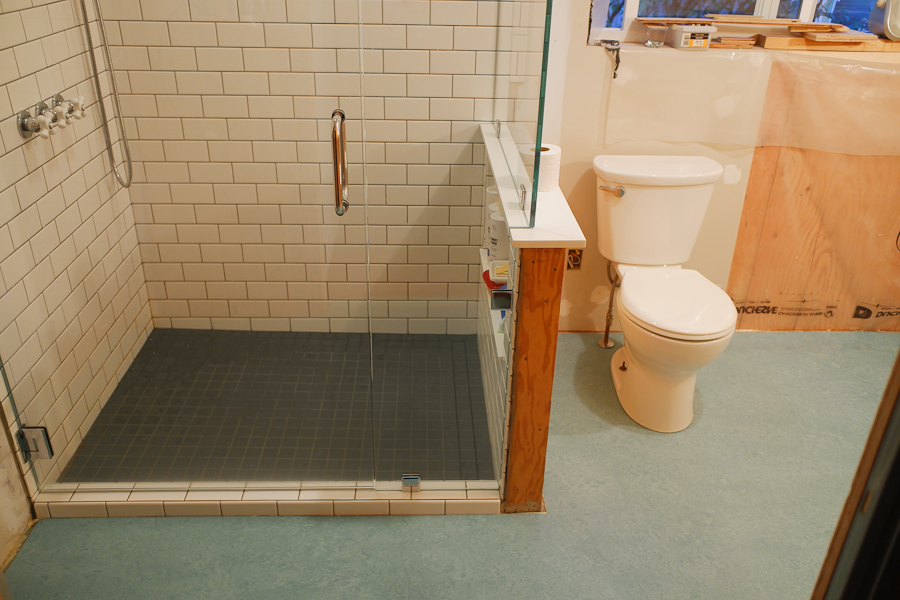
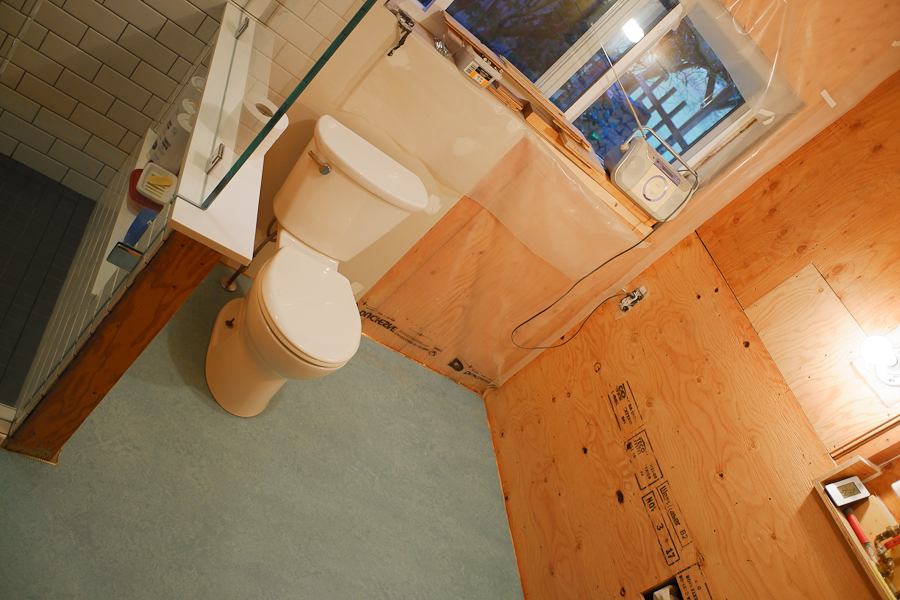
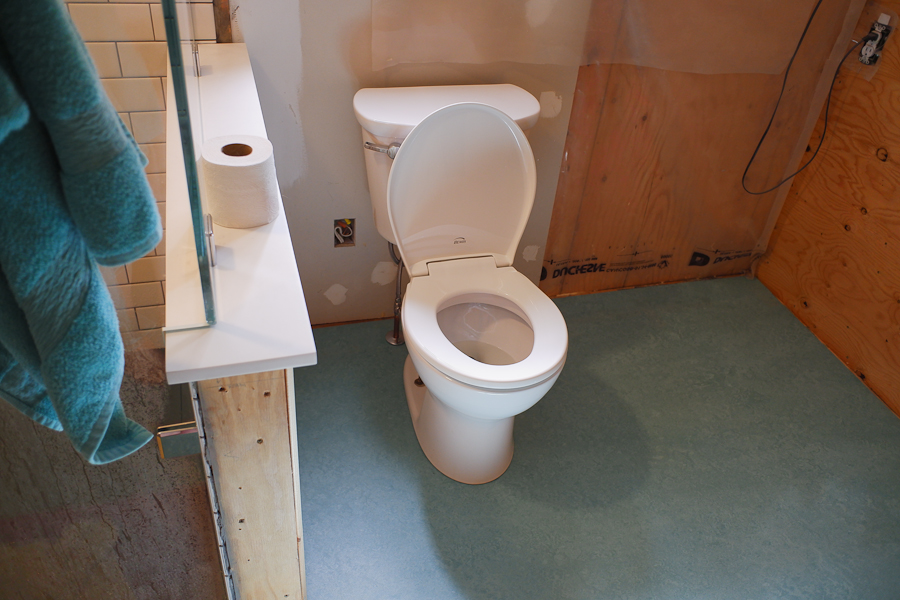
We can finally install our new toilet! |
|
The new toilet is a little smaller than the old one. It really suits the room. |
|
|
|